How To Build A Cabinet Box: A Comprehensive Guide For Beginners
Building a cabinet box is one of the most rewarding DIY projects you can take on. Whether you're looking to create custom storage solutions or enhance your home's aesthetic, constructing a cabinet box from scratch offers endless possibilities. In this guide, we'll walk you through every step of the process, ensuring you have all the information you need to complete your project successfully.
Creating a cabinet box may seem daunting at first, but with the right tools, materials, and guidance, it's a project anyone can accomplish. From measuring and cutting wood to assembling and finishing the cabinet, this article will break down each step in a clear and concise manner, making your DIY journey as smooth as possible.
This guide is tailored for both beginners and experienced woodworkers who want to refine their skills. By following the steps outlined here, you'll gain the confidence and expertise necessary to build a cabinet box that meets your specific needs and enhances your living space.
- Beauty And Essex Reviews
- Wildflower Resort New York
- City Of Bpt Ct
- Wall To Wall New York
- Crosby Tx Atv Park
Table of Contents
Tools and Materials You'll Need
Measuring for Your Cabinet Box
- What Denomination Is The National Cathedral
- How To Keep An Apple Fresh After Cutting It
- Is Damon Wayans Jr Married
- Pizza Brew Scarsdale
- Dustin Poirier Vs Islam Where To Watch
Cutting the Wood for Your Cabinet Box
Finishing Touches for Your Cabinet Box
Common Mistakes to Avoid When Building a Cabinet Box
Cost Considerations for Building a Cabinet Box
Frequently Asked Questions About Building a Cabinet Box
Tools and Materials You'll Need
Before diving into the construction of your cabinet box, it's crucial to gather all the necessary tools and materials. Having everything on hand will make the process smoother and more efficient.
Tools
- Measuring tape
- Power saw or hand saw
- Circular saw (optional)
- Drill and drill bits
- Screwdriver
- Clamps
- Sandpaper or orbital sander
- Level
- Hammer and nails (if needed)
Materials
- Wood panels (plywood or MDF)
- Screws
- Wood glue
- Stain or paint (optional)
- Wood filler (optional)
- Varnish or sealant (optional)
Having these tools and materials ready will ensure you're prepared for every step of building your cabinet box.
Planning Your Cabinet Box
Proper planning is the foundation of any successful project. When building a cabinet box, take the time to consider its purpose, size, and placement. This step will help you create a cabinet that fits seamlessly into your space and meets your storage needs.
Define the Purpose
Before you begin, decide what the cabinet box will be used for. Will it be a storage unit for kitchen utensils, a media cabinet, or a decorative piece? Understanding its function will guide your design choices.
Measure the Space
Accurate measurements are essential. Measure the area where the cabinet box will be installed, including height, width, and depth. Ensure there's enough clearance for doors or drawers if you plan to add them later.
Create a Sketch
Draw a rough sketch of your cabinet box. Include dimensions and any additional features you'd like to incorporate, such as shelves or dividers. This visual guide will serve as a reference throughout the construction process.
Measuring for Your Cabinet Box
Accurate measurements are the key to a well-fitted cabinet box. Taking precise measurements ensures your cabinet will fit perfectly in its designated space and function as intended.
Use a measuring tape to determine the exact dimensions of the area where your cabinet box will be placed. Double-check your measurements to avoid errors. Remember to account for any obstacles, such as windows, doors, or electrical outlets, that may affect the cabinet's placement.
Cutting the Wood for Your Cabinet Box
Once you have your measurements, it's time to cut the wood panels. Precision is crucial at this stage to ensure all pieces fit together seamlessly.
Selecting the Right Wood
Choose high-quality plywood or MDF for your cabinet box. These materials are durable, easy to work with, and provide a smooth surface for finishing.
Cutting Techniques
- Mark the cutting lines on the wood panels using a pencil.
- Use a circular saw or table saw for straight cuts.
- For smaller cuts, a hand saw or jigsaw may be more appropriate.
- Always wear safety goggles and follow safety guidelines when using power tools.
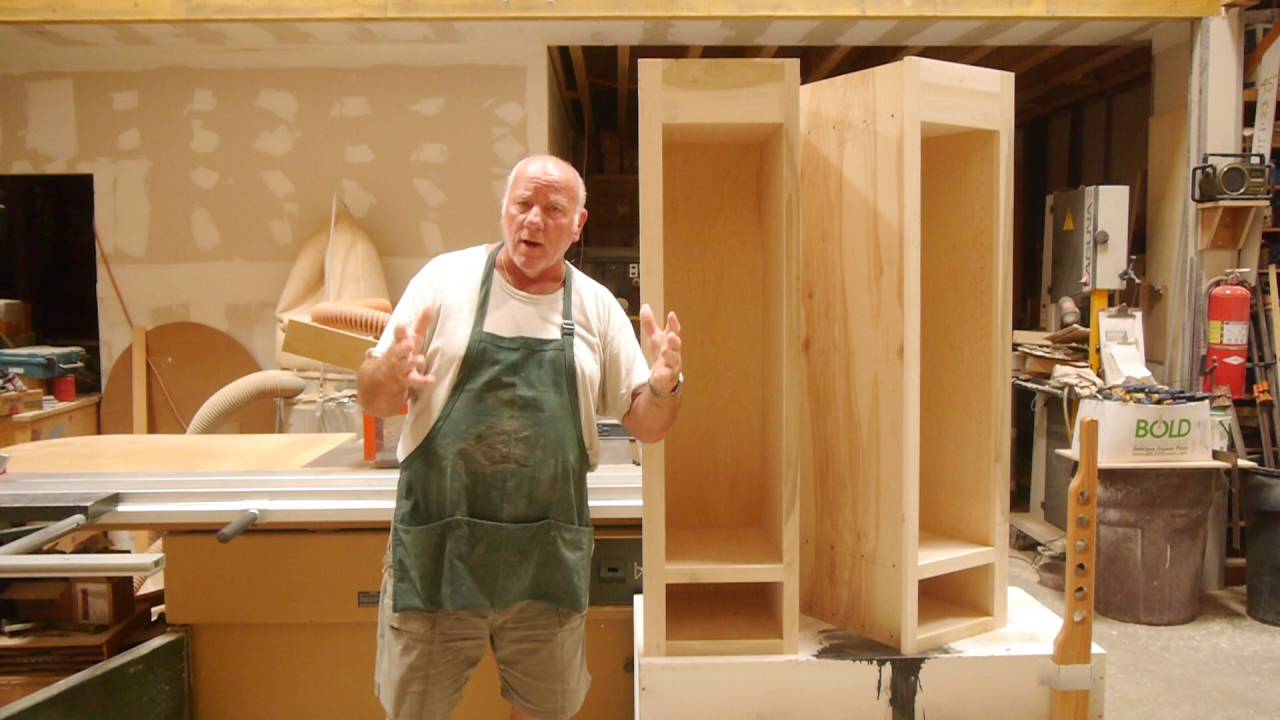
Assembling the Cabinet Box
With all the pieces cut, it's time to assemble your cabinet box. This step requires patience and attention to detail to ensure a sturdy and well-constructed unit.
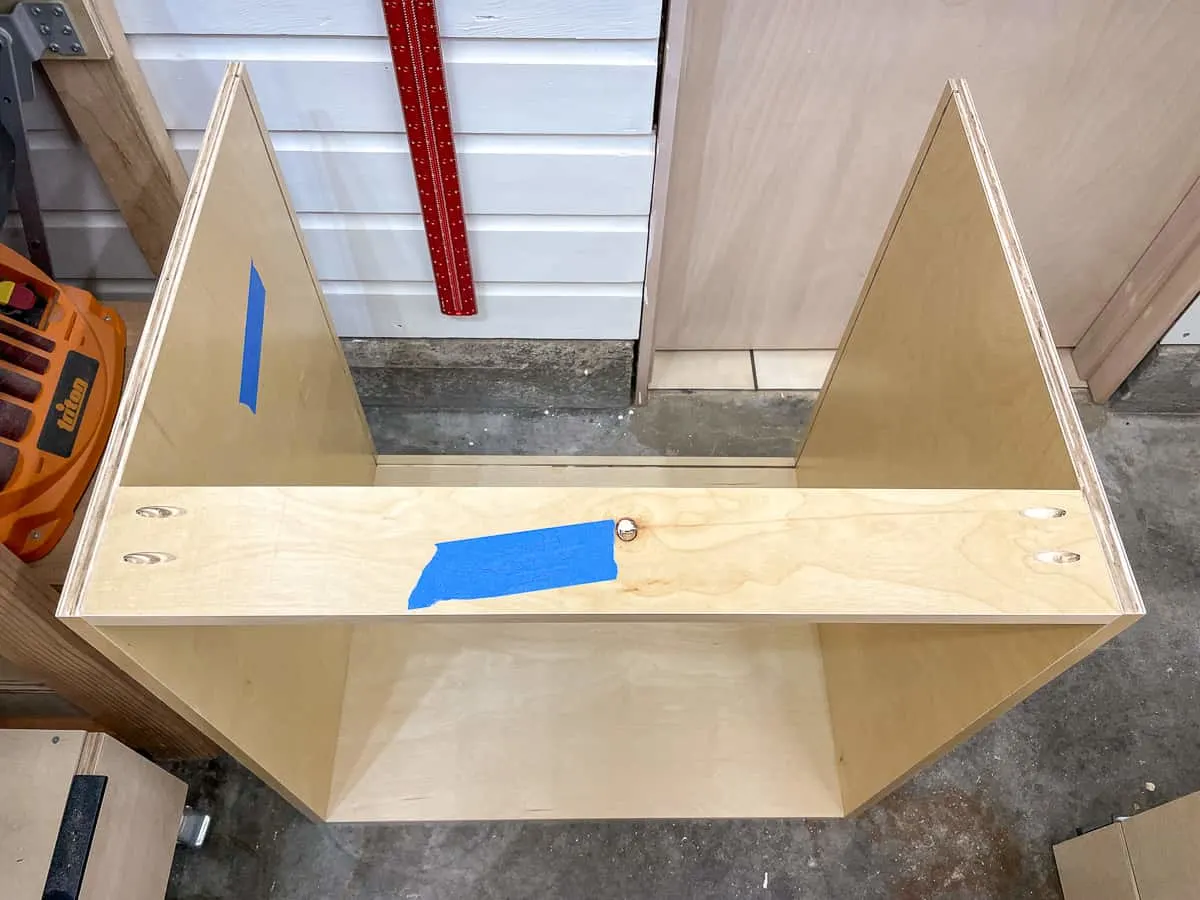
Step-by-Step Assembly
- Apply wood glue to the edges of the side panels where they will meet the back panel.
- Attach the side panels to the back panel using screws. Use clamps to hold the pieces together while the glue sets.
- Add the top and bottom panels, securing them with screws and wood glue.
- Insert the shelves, if applicable, and secure them with screws or brackets.
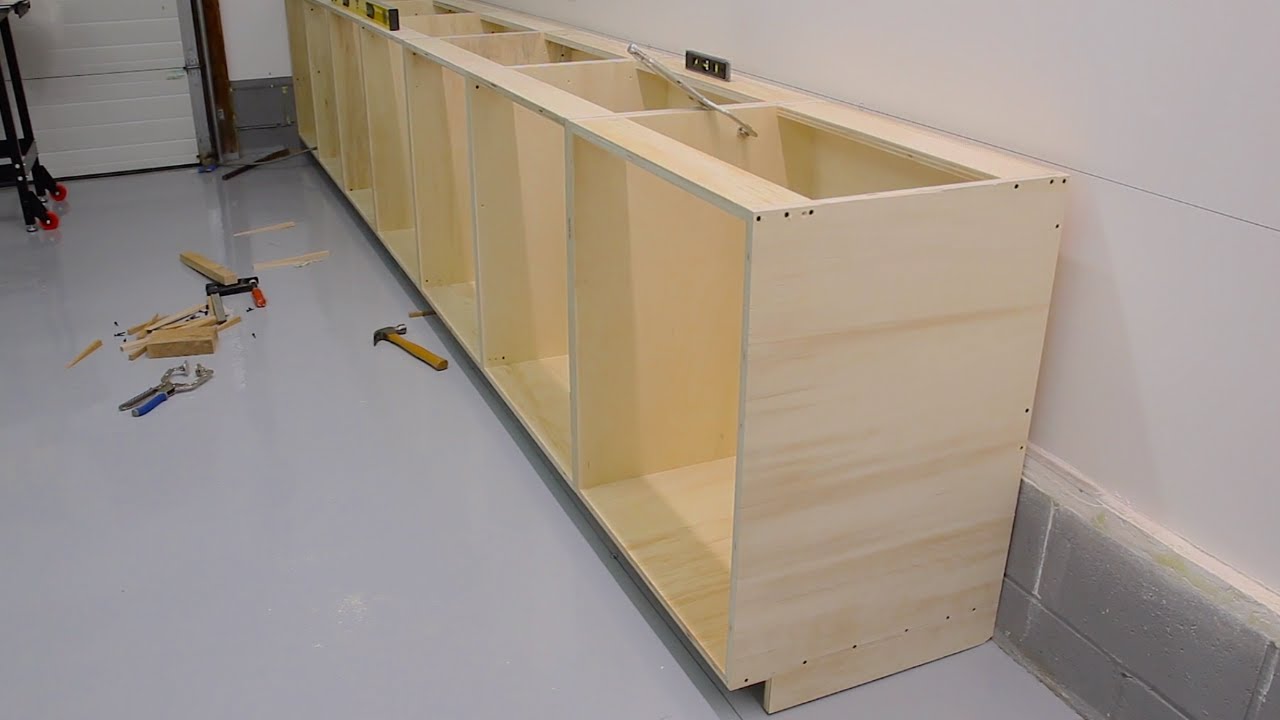
Take your time during assembly to ensure each piece is aligned correctly. This will prevent issues later on and ensure the cabinet box is stable and functional.
Finishing Touches for Your Cabinet Box
Once assembled, it's time to add the finishing touches to your cabinet box. This step enhances the appearance of your project and protects the wood from damage.
Sanding
Use sandpaper or an orbital sander to smooth out any rough edges or surfaces. This step is crucial for achieving a professional look and preparing the wood for staining or painting.
Staining or Painting
Choose a stain or paint that complements your home's decor. Apply the finish in thin, even coats, allowing each layer to dry before adding the next. This will ensure a smooth and uniform finish.
Sealing
Apply a varnish or sealant to protect the wood from moisture and scratches. This step is especially important if the cabinet box will be used in high-humidity areas like kitchens or bathrooms.
Customizing Your Cabinet Box
One of the great things about building a cabinet box is the ability to customize it to suit your personal style and needs. Consider adding doors, drawers, or decorative elements to enhance its functionality and appearance.
Adding Doors
Install hinges and attach doors to your cabinet box for added storage options. Choose from a variety of styles, such as shaker or glass-front doors, to match your interior design.
Installing Drawers
Incorporate drawers for additional storage. Use drawer slides for smooth operation and ensure the drawers are properly aligned with the cabinet box.
Common Mistakes to Avoid When Building a Cabinet Box
Even experienced woodworkers make mistakes. Here are some common errors to avoid when building your cabinet box:
- Inaccurate measurements leading to ill-fitting pieces.
- Using the wrong type of wood for the project.
- Skipping the sanding process, resulting in a rough finish.
- Not allowing enough drying time between coats of stain or paint.
By being aware of these potential pitfalls, you can take steps to avoid them and ensure a successful project.
Cost Considerations for Building a Cabinet Box
Building a cabinet box can vary in cost depending on the materials and tools you choose. Here's a breakdown of potential expenses:
Material Costs
- Plywood or MDF: $20-$50 per sheet
- Screws and wood glue: $5-$15
- Stain or paint: $10-$30
- Varnish or sealant: $10-$20
Tool Costs
- Power saw: $50-$200 (if not already owned)
- Drill: $30-$100 (if not already owned)
Consider renting tools if purchasing them isn't feasible. This can save you money while still allowing you to complete your project.
Frequently Asked Questions About Building a Cabinet Box
How long does it take to build a cabinet box?
The time required depends on the complexity of the design and your experience level. A simple cabinet box can be completed in a weekend, while more intricate designs may take several days.
Can I build a cabinet box without prior experience?
Yes, with the right guidance and resources, even beginners can successfully build a cabinet box. Start with a simple design and gradually tackle more complex projects as your skills improve.
What type of wood should I use?
Plywood and MDF are popular choices for cabinet boxes due to their durability and ease of use. Consider the intended use and environment when selecting your wood type.
Do I need special tools?
While some specialized tools can make the process easier, basic tools like a saw, drill, and sandpaper are sufficient for most cabinet box projects.
Kesimpulan
Building a cabinet box is a rewarding project that enhances both your home and your woodworking skills. By following the steps outlined in this guide, you can create a functional and stylish cabinet box tailored to your needs. Remember to plan carefully, measure accurately, and take your time during assembly and finishing.
We encourage you to share your experience and tips in the comments below. If you found this guide helpful, consider exploring other DIY projects on our website. Happy building!
- Carimar Beach Club Hotel Anguilla
- Walt Disney World Aurora
- New Castle News Police Reports
- Is Damon Wayans Jr Married
- Easy Diy Macrame Wall Hanging
Diy How To Build A Box Part One You
Build Simple Carcass Matttroy
How To Build A Box You
