Comprehensive Guide To Installing Corner Bead On Drywall
Installing corner bead on drywall is an essential step in achieving smooth and durable wall finishes. This process protects the edges of drywall from damage and ensures a professional appearance. Whether you're a DIY enthusiast or a professional contractor, mastering the art of corner bead installation can significantly enhance your project's quality.
When it comes to drywall finishing, corner beads play a crucial role in reinforcing the corners of walls and ceilings. They not only add strength but also provide a clean, straight edge that improves the overall aesthetics of a room. Proper installation is key to achieving these benefits.
This guide will walk you through everything you need to know about installing corner bead on drywall. From the tools and materials required to step-by-step instructions and expert tips, we've got you covered. Let's dive in!
- Yorba Linda Adventure Playground
- Crosby Tx Atv Park
- How To Keep An Apple Fresh After Cutting It
- Smallest Tank In The World
- Peliculas De Anime En Netflix
Table of Contents
- Introduction to Corner Bead
- Tools and Materials Needed
- Preparation Steps
- The Installation Process
- Types of Corner Bead
- Common Mistakes to Avoid
- Troubleshooting Tips
- Best Practices for Installation
- Maintenance and Care
- Conclusion
Introduction to Corner Bead
Corner bead is a metal or plastic strip designed to reinforce and protect the corners of drywall. It serves as a protective barrier against chips, dents, and other forms of damage. Without corner bead, the edges of drywall are vulnerable to wear and tear, which can compromise the structural integrity of the wall.
There are several types of corner beads available, each catering to different needs and preferences. Metal corner beads, for instance, are popular for their durability and resistance to moisture, while plastic corner beads are lightweight and easier to work with.
Why Install Corner Bead?
Installing corner bead on drywall is not just about aesthetics; it's about ensuring the longevity and strength of your walls. Here are a few reasons why corner bead installation is important:
- Shopping Mall Amarillo Tx
- Victoria And Albert Museum Gift Shop
- Mr Freeze Six Flags
- The Vic Theater Capacity
- You Don T Know What You Don T Know Quote
- Enhances the durability of wall corners.
- Provides a clean and professional finish.
- Protects against daily wear and tear.
- Improves the overall appearance of the room.
Tools and Materials Needed
Before you start installing corner bead on drywall, it's important to gather all the necessary tools and materials. Having everything ready will make the process smoother and more efficient.
Tools
- Utility knife
- Measuring tape
- Stud finder
- Putty knife
- Hammer or nail gun
- Screwdriver
Materials
- Corner bead strips
- Drywall screws or nails
- Joint compound
- Sanding sponge
Preparation Steps
Proper preparation is key to a successful corner bead installation. Here's what you need to do before you begin:
First, ensure that the drywall is securely attached to the wall studs. Use a stud finder to locate the studs and secure the drywall with screws or nails. This will prevent the drywall from shifting during the installation process.
Next, clean the corners of the drywall to remove any debris or excess material. Use a utility knife to trim any rough edges and ensure a smooth surface for the corner bead.
The Installation Process
Now that you're prepared, it's time to install the corner bead. Follow these step-by-step instructions for a flawless finish:
- Measure the length of the corner where the bead will be installed.
- Cut the corner bead to size using a utility knife or tin snips.
- Position the corner bead on the drywall corner, ensuring it aligns perfectly with the edges.
- Secure the bead in place using drywall screws or nails. Space the fasteners evenly along the length of the bead.
- Apply a thin layer of joint compound over the bead, ensuring it fills any gaps and creates a smooth surface.
- Allow the compound to dry completely before sanding it down for a polished finish.
Tips for a Perfect Installation
Here are a few tips to help you achieve the best results:
- Use a level to ensure the corner bead is straight and even.
- Apply the joint compound in thin layers to avoid cracking.
- Allow each layer of compound to dry completely before applying the next.
Types of Corner Bead
Not all corner beads are created equal. Depending on your project requirements, you may choose from a variety of corner bead types:
1. Metal Corner Bead
Metal corner beads are the most durable option, ideal for high-traffic areas or spaces prone to moisture. They are made from galvanized steel and offer excellent resistance to rust and corrosion.
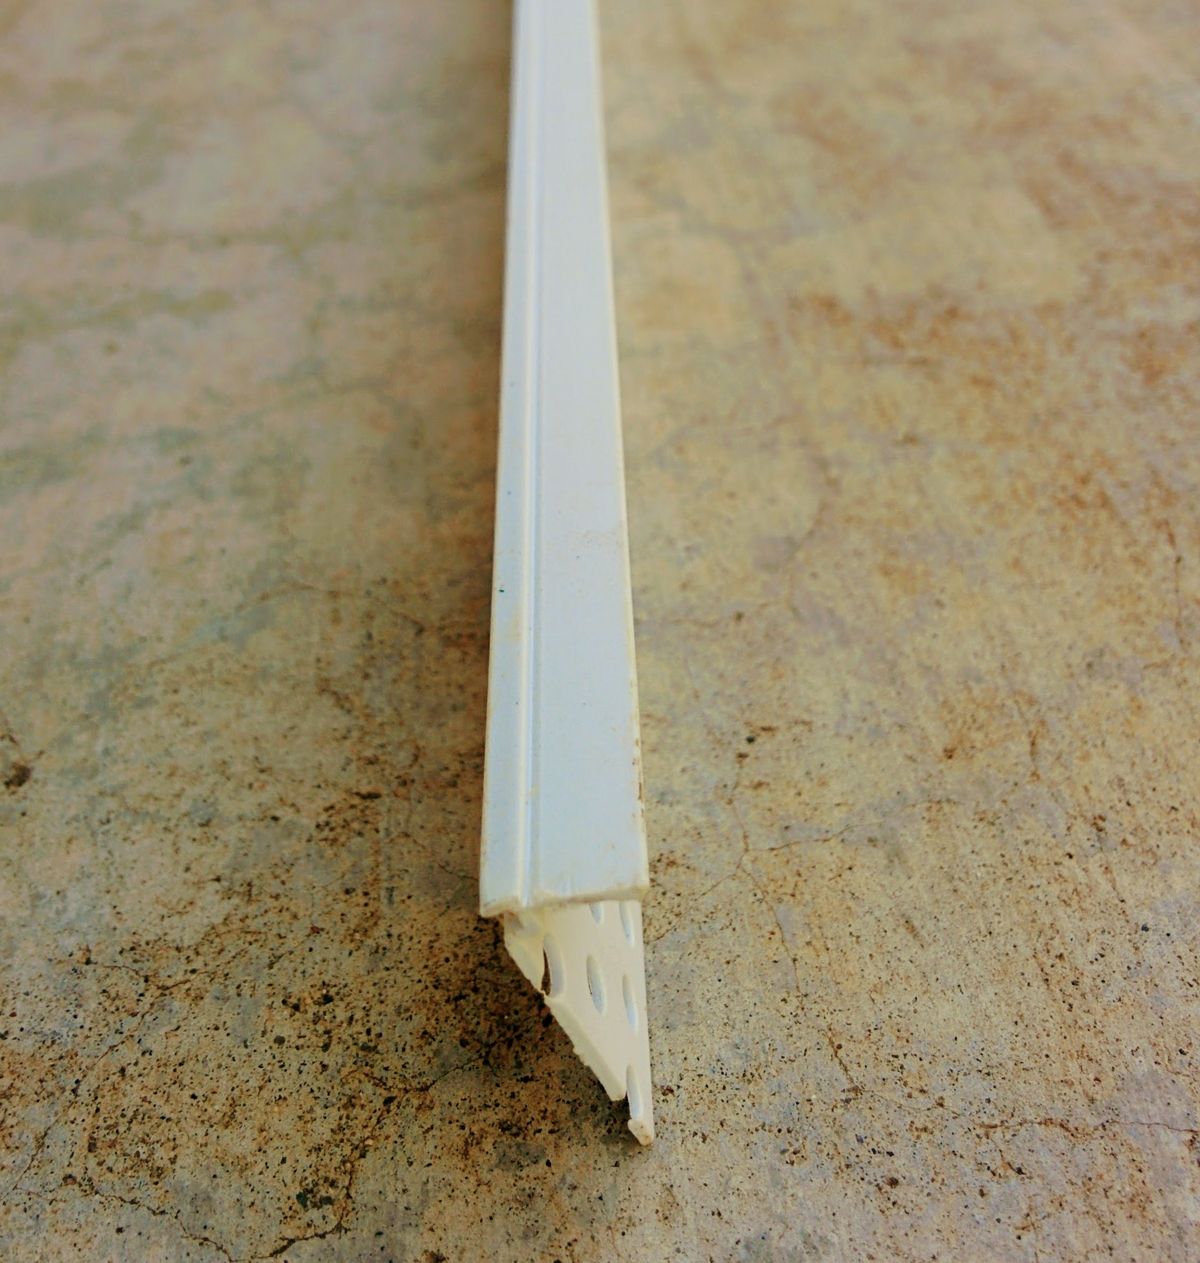
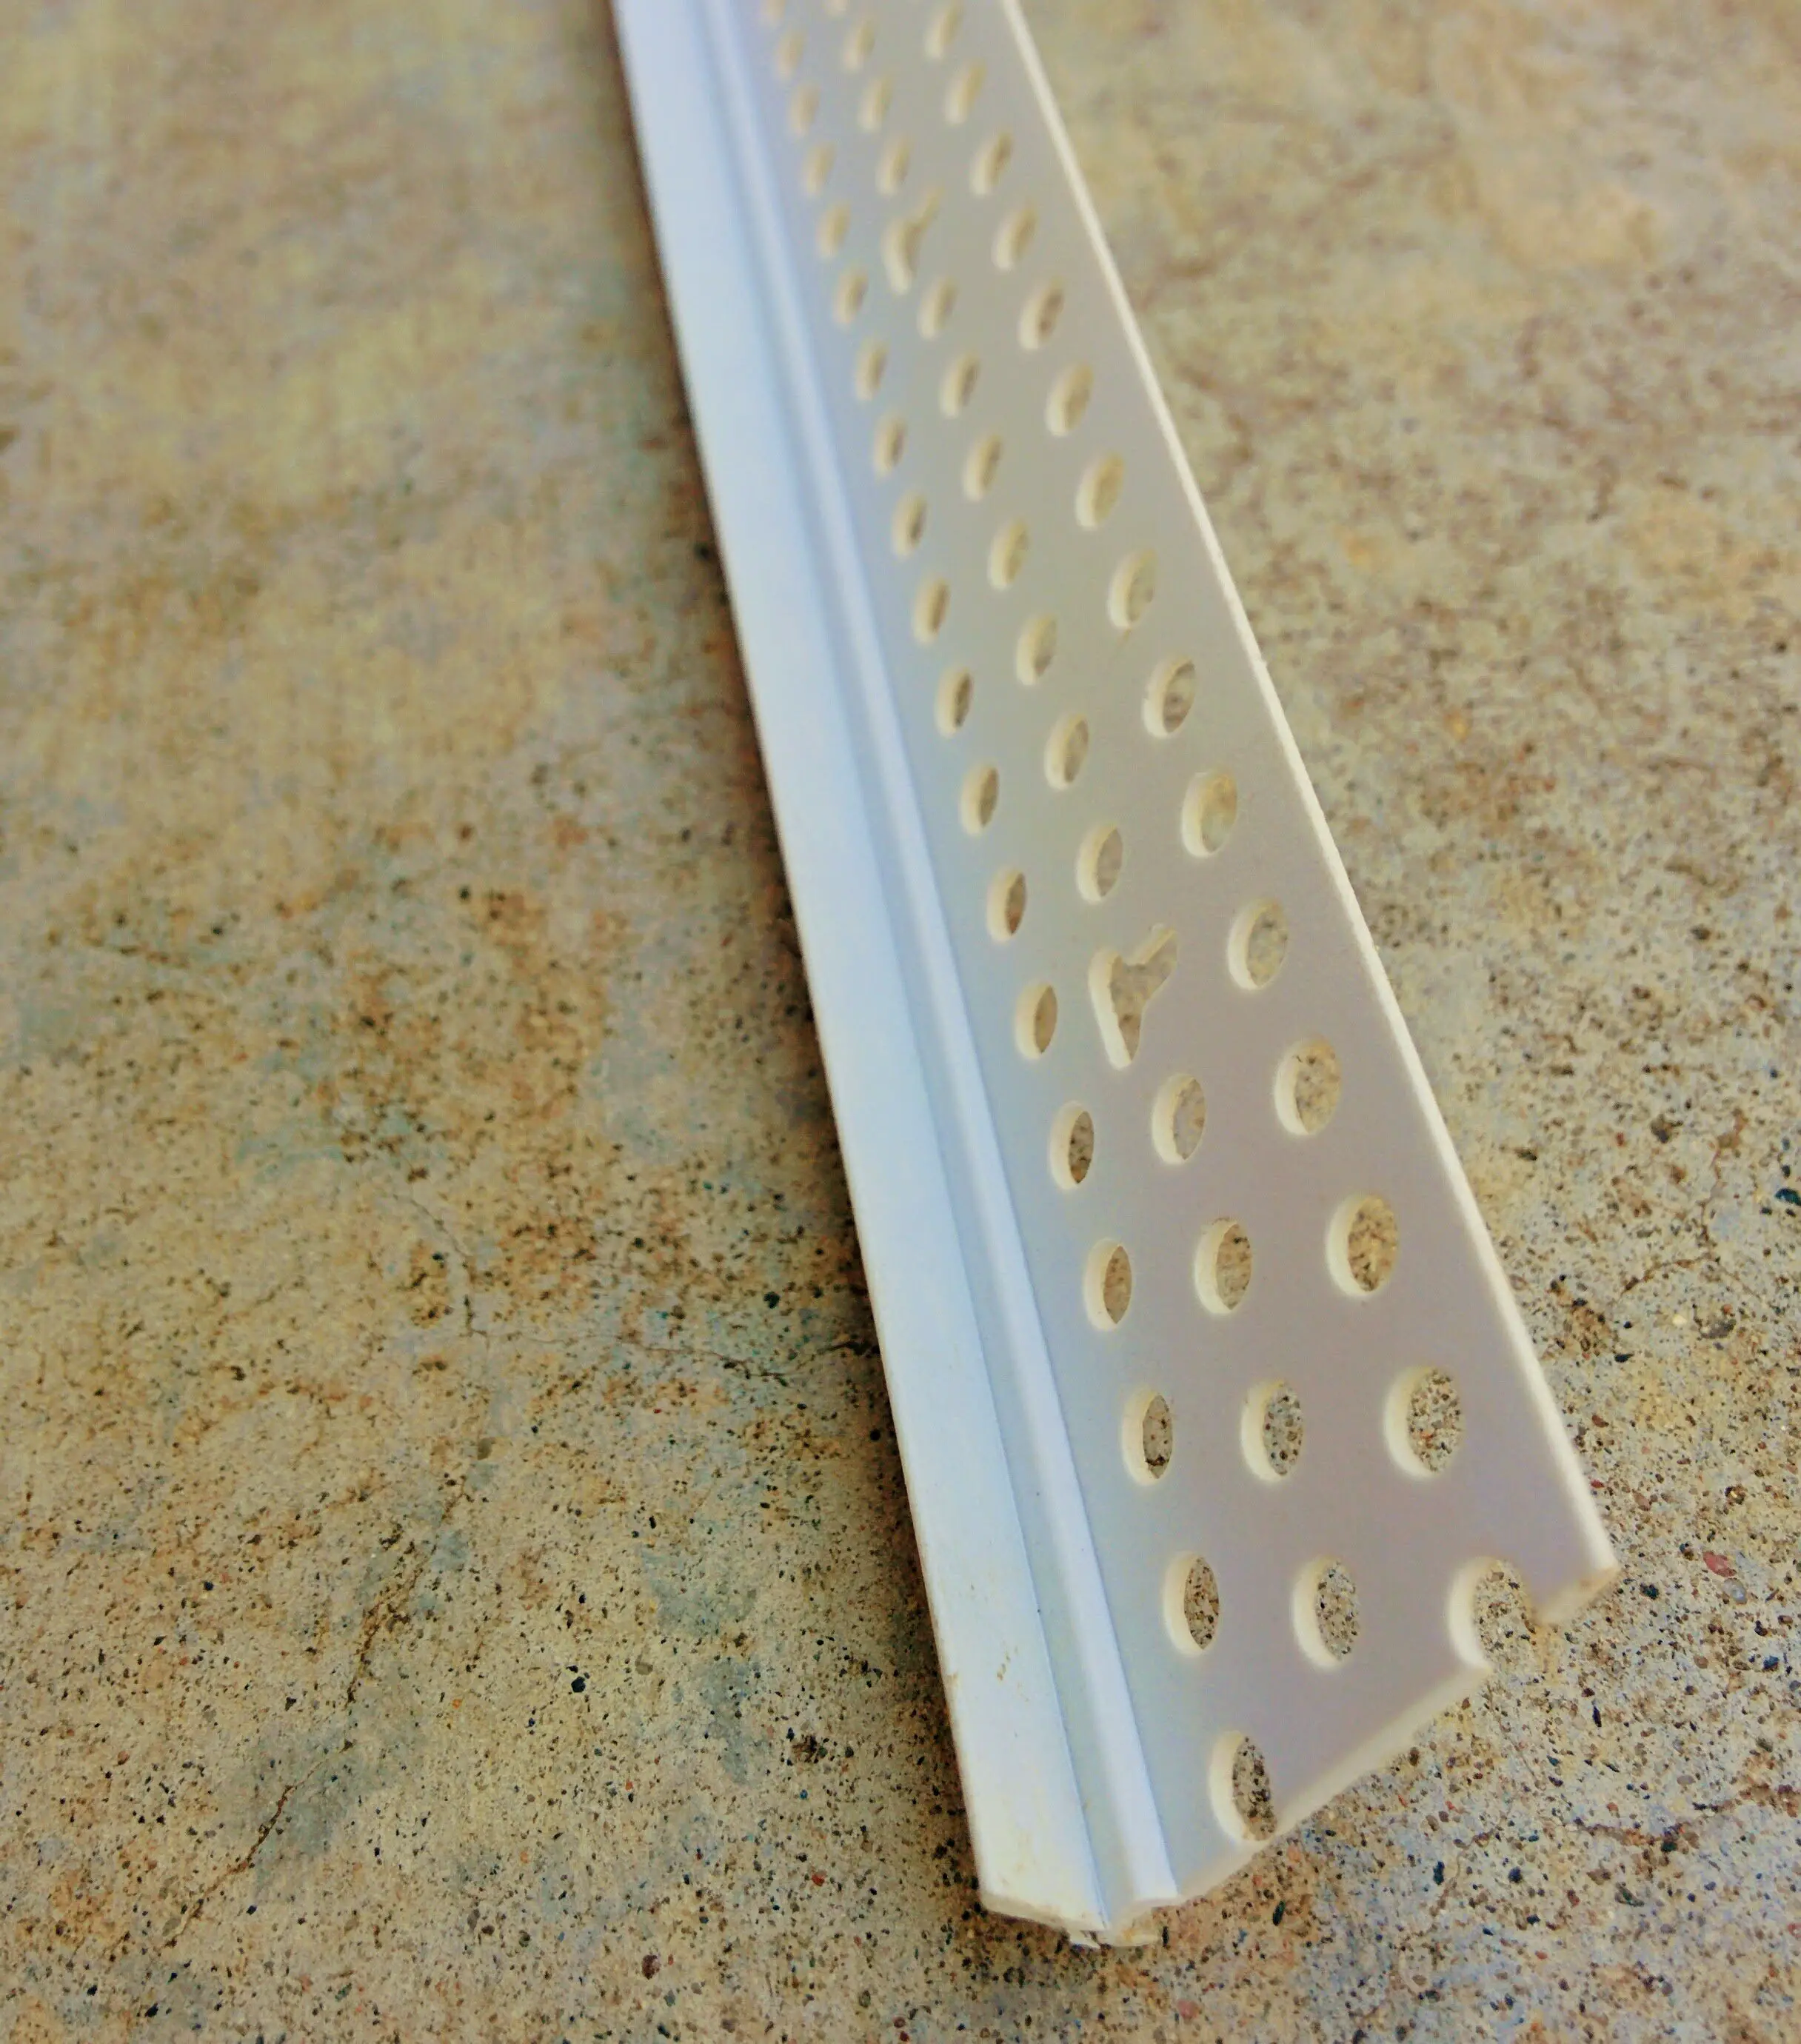
2. Plastic Corner Bead
Plastic corner beads are lightweight and easy to install, making them a popular choice for residential projects. They are also resistant to moisture, though not as durable as metal beads.
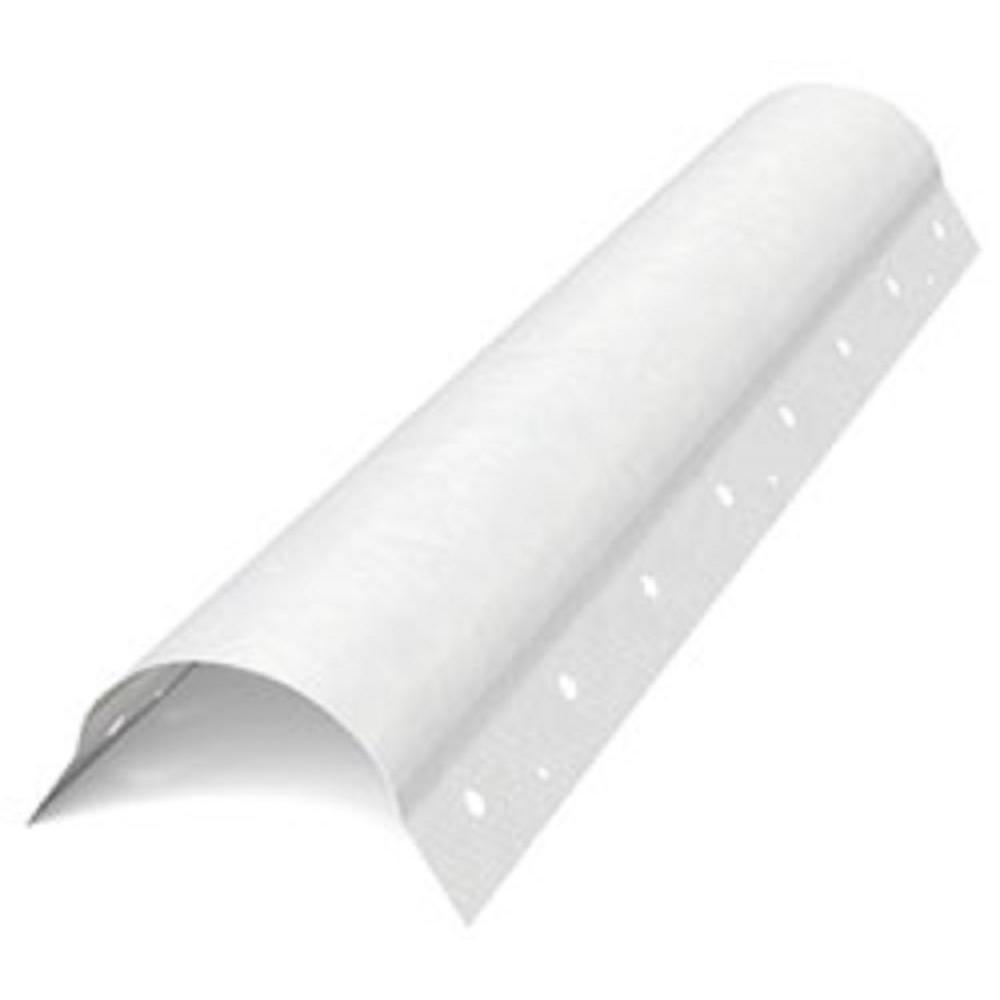
3. Vinyl Corner Bead
Vinyl corner beads are flexible and easy to shape, making them perfect for curved or irregular corners. They are also resistant to moisture and require minimal maintenance.
Common Mistakes to Avoid
Even experienced professionals can make mistakes during corner bead installation. Here are some common errors to watch out for:
- Not securing the bead properly, leading to uneven edges.
- Applying too much joint compound, causing cracks and imperfections.
- Ignoring the drying time between layers, resulting in a poor finish.
Troubleshooting Tips
If you encounter any issues during the installation process, don't panic. Here are some troubleshooting tips to help you resolve common problems:
- If the corner bead is crooked, gently adjust it before the joint compound dries.
- If the compound cracks, sand it down and apply another layer.
- If the bead becomes loose, reattach it with additional screws or nails.
Best Practices for Installation
Adhering to best practices can significantly improve the quality of your corner bead installation. Here are a few recommendations:
- Plan your project carefully, ensuring you have all the necessary tools and materials.
- Work methodically, paying attention to detail at every step.
- Consult professional resources or seek advice from experienced contractors if needed.
Maintenance and Care
Once your corner bead is installed, it's important to maintain it properly to ensure its longevity. Here are some tips for maintaining your corner bead:
- Regularly inspect the corners for any signs of damage or wear.
- Touch up any chipped or cracked areas with joint compound and paint.
- Avoid using harsh chemicals or abrasive materials when cleaning the walls.
Conclusion
Installing corner bead on drywall is a straightforward process that can greatly enhance the durability and appearance of your walls. By following the steps outlined in this guide and adhering to best practices, you can achieve professional-quality results.
We encourage you to share your experiences and tips in the comments section below. Your feedback helps us improve and provides valuable insights for other readers. Don't forget to explore our other articles for more DIY tips and tricks!
References:
- Sonic Drive In Frisco Tx
- Cast Your Anxiety On The Lord
- Iris Goo Goo Dolls Cover
- Ustaad G76 Indian Cuisine
- Carimar Beach Club Hotel Anguilla
Drywall Corner Bead Options, Which Should I Choose?
How to Install TearAway Vinyl Corner Bead
How to Install TearAway Vinyl Corner Bead
