Wall Unit AC Installation: A Comprehensive Guide For Your Home
Wall unit air conditioning systems have become increasingly popular for their efficiency and ease of installation. Whether you're looking to install a new AC unit or replace an old one, understanding the installation process is essential. This guide will provide you with all the necessary information to ensure your wall unit AC installation is done correctly and efficiently.
As temperatures rise, the demand for effective cooling solutions grows. Wall unit AC installation is a practical choice for homeowners who want a reliable and cost-effective way to cool their living spaces. With proper planning and execution, these systems can significantly enhance comfort while maintaining energy efficiency.
However, the installation process requires careful attention to detail. From selecting the right unit to ensuring proper placement and ventilation, each step plays a crucial role in the system's performance. This article will walk you through every aspect of wall unit AC installation, helping you make informed decisions for your home.
- Beauty And Essex Reviews
- Rack Room Shoes Cary Nc
- Dustin Poirier Vs Islam Where To Watch
- Who Is The Quarterback For Texans
- Sam Woo Cafe Cerritos
Table of Contents
- Introduction to Wall Unit AC Installation
- Benefits of Wall Unit Air Conditioners
- Choosing the Right Wall Unit AC
- Tools and Materials Needed
- Preparing for Installation
- Step-by-Step Installation Process
- Maintenance Tips for Wall Unit ACs
- Cost Considerations for Installation
- Common Issues and Troubleshooting
- When to Seek Professional Help
- Conclusion
Introduction to Wall Unit AC Installation
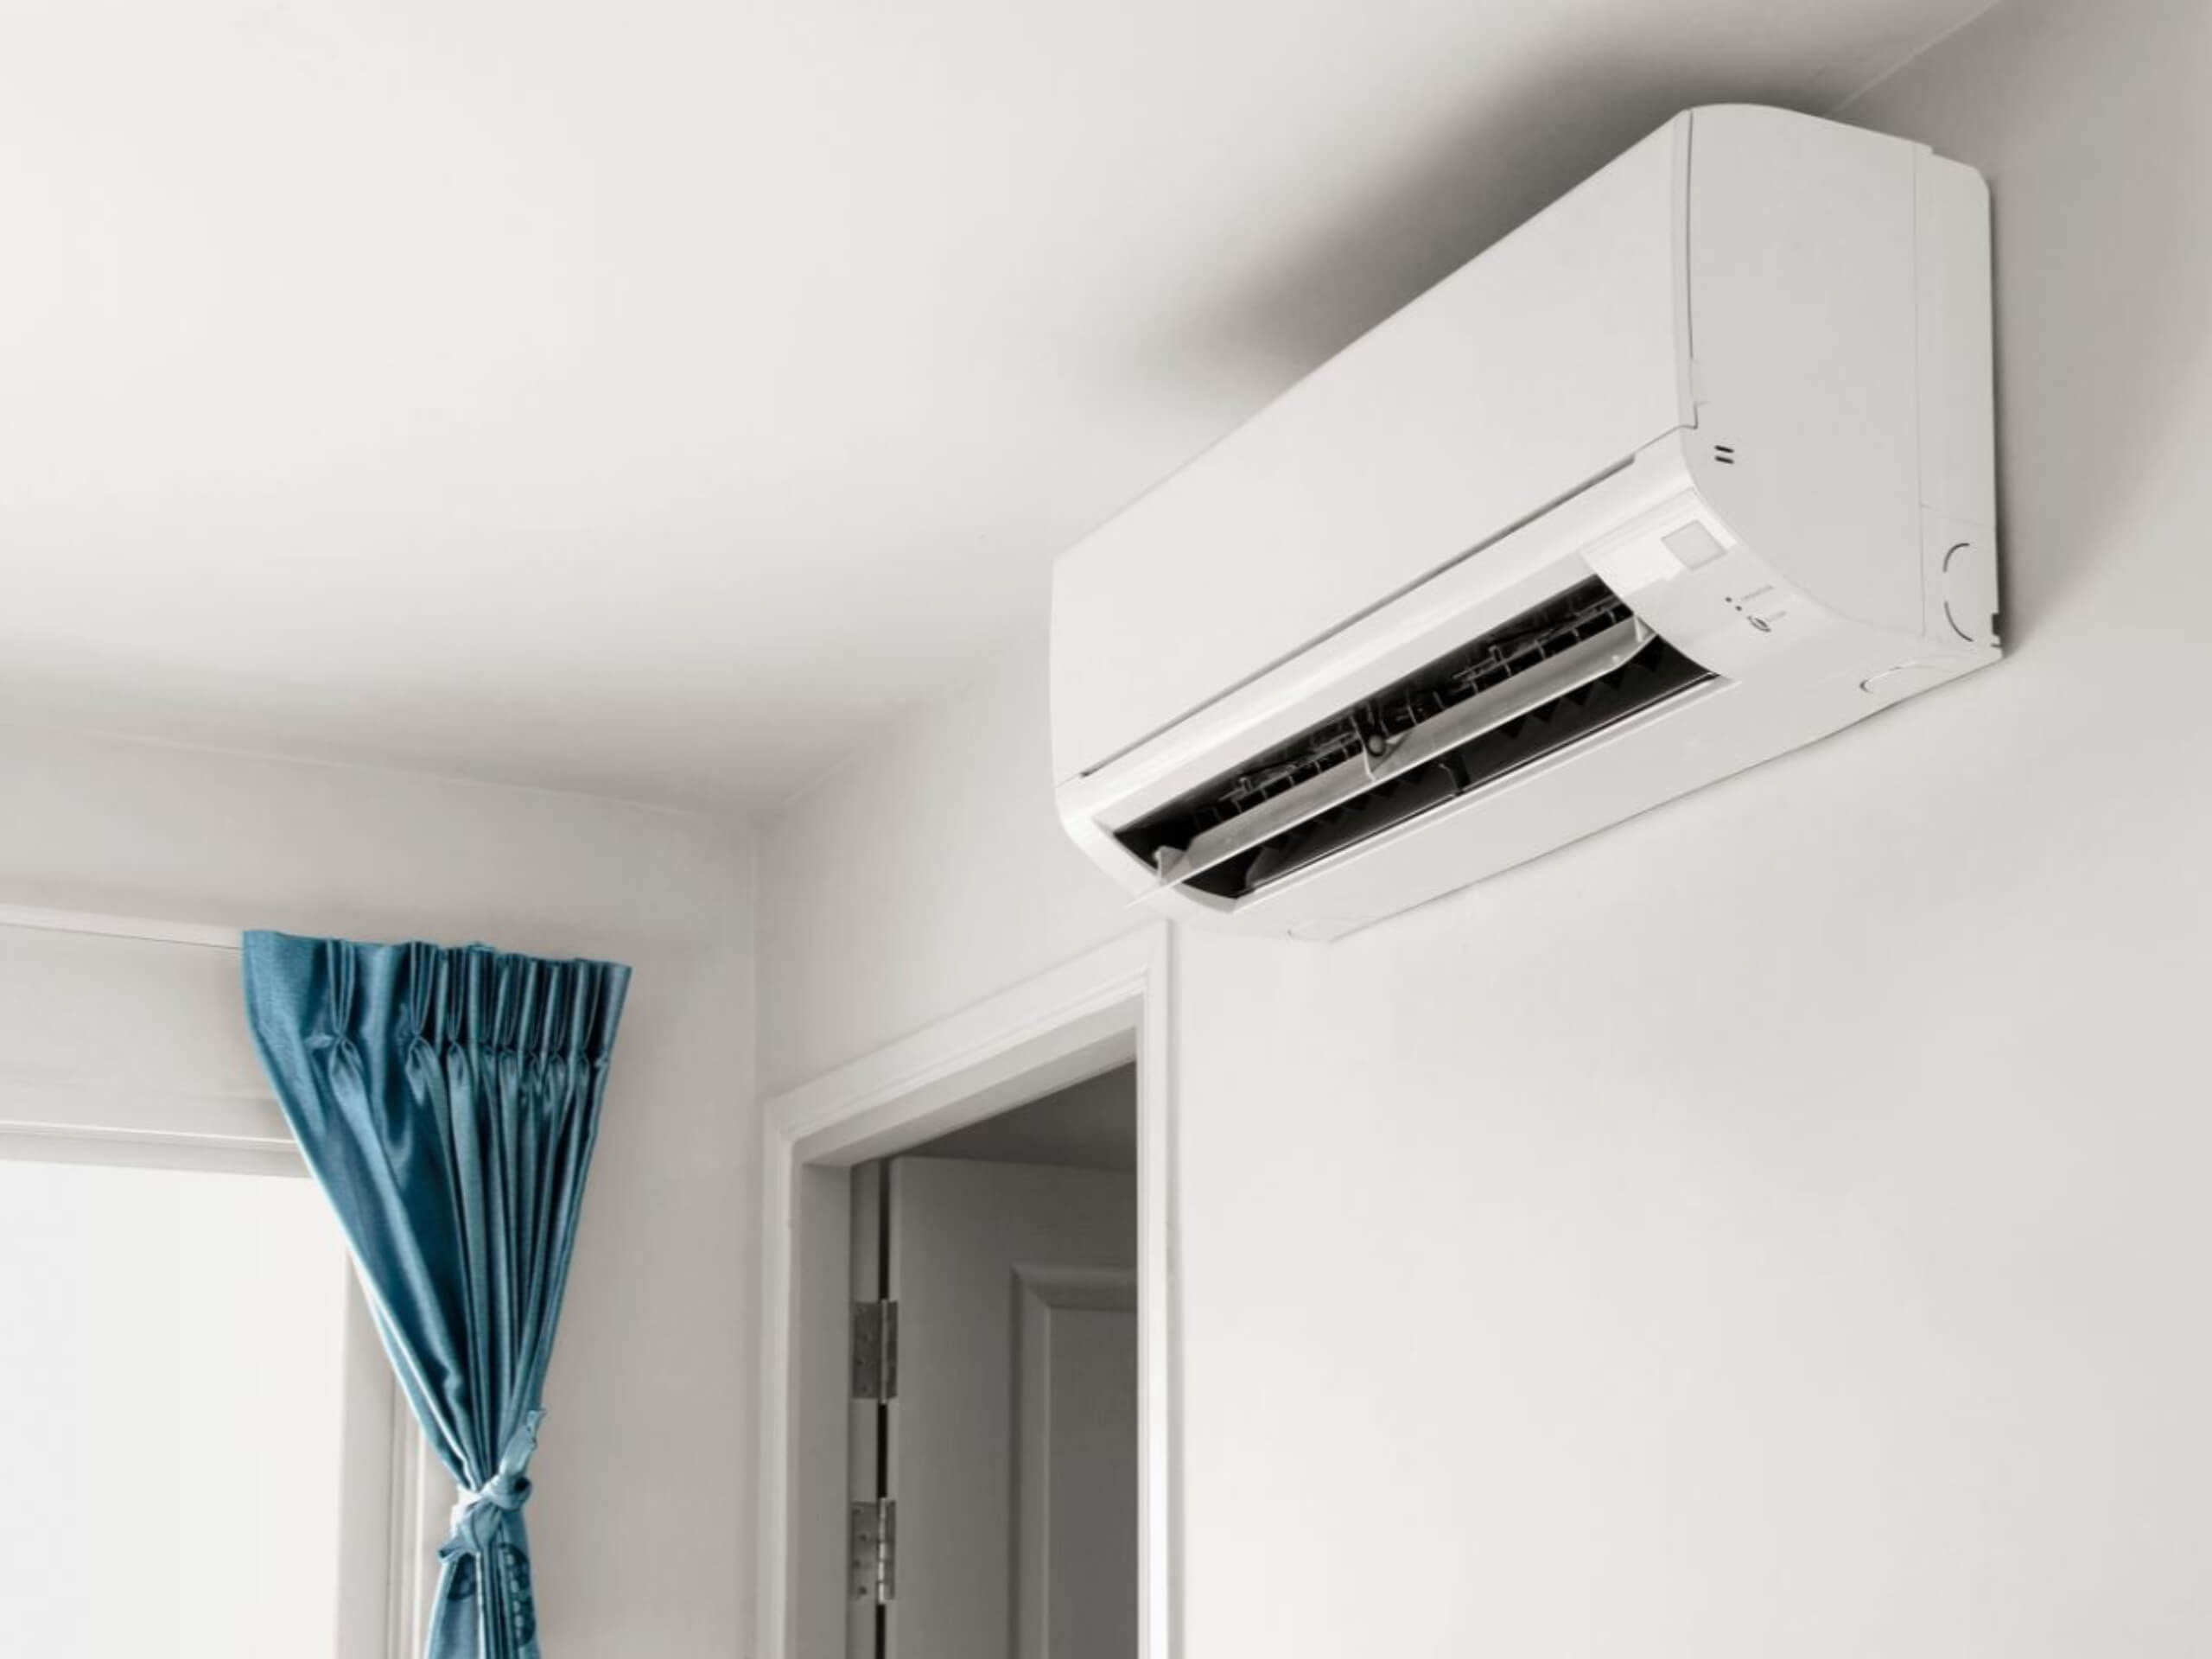
Wall unit air conditioners are designed to provide efficient cooling in a specific area without taking up valuable floor space. Unlike central air conditioning systems, wall units are easier to install and maintain, making them an ideal choice for smaller homes, apartments, or individual rooms.
The installation process involves several key steps, from selecting the right unit to ensuring proper ventilation and electrical connections. Understanding these steps will help you avoid common pitfalls and ensure your system operates optimally.
Whether you're a DIY enthusiast or planning to hire a professional, this guide will equip you with the knowledge needed to make the best decisions for your wall unit AC installation.
- Weston Elementary Ripon Ca
- Sonic Drive In Frisco Tx
- Yorba Linda Adventure Playground
- Walt Disney World Aurora
- Shopping Mall Amarillo Tx
Benefits of Wall Unit Air Conditioners
Wall unit air conditioners offer numerous advantages that make them a popular choice for homeowners. Below are some of the key benefits:
- Space-Saving Design: Wall units are mounted on the wall, leaving floor space free for other uses.
- Energy Efficiency: These systems are designed to cool specific areas efficiently, reducing energy consumption compared to central systems.
- Cost-Effective: Wall units are generally more affordable to purchase and install than central air conditioning systems.
- Quiet Operation: Modern wall units are designed to operate quietly, ensuring a peaceful environment.
Choosing the Right Wall Unit AC
Selecting the appropriate wall unit AC is crucial for optimal performance and comfort. Consider the following factors:
Room Size: Ensure the unit's cooling capacity matches the size of the room. A BTU (British Thermal Unit) calculator can help determine the right size.
Energy Efficiency: Look for units with high SEER (Seasonal Energy Efficiency Ratio) ratings to save on energy costs.
Additional Features: Consider features such as programmable thermostats, air filters, and remote controls for added convenience.
Tools and Materials Needed
Before starting the installation process, gather the necessary tools and materials:
- Drill and drill bits
- Level
- Screwdriver
- Pipe cutter
- Refrigerant line set
- Insulation for refrigerant lines
- Electrical wiring and connectors
Preparing for Installation
Proper preparation is key to a successful installation. Follow these steps:
Choose the Right Location: Select a spot on an exterior wall that provides good airflow and is easily accessible for maintenance.
Check Electrical Requirements: Ensure your home has the necessary electrical connections to support the AC unit. This may require upgrading your electrical system.
Inspect the Wall: Verify that the wall can support the weight of the unit and bracket. Reinforce the wall if necessary.
Step-by-Step Installation Process
Step 1: Mounting the Bracket
Mounting the bracket securely is the first step in the installation process:
Position the Bracket: Use a level to ensure the bracket is evenly mounted on the wall. Secure it with screws into wall studs for stability.
Step 2: Cutting the Wall Opening
Creating the opening for the unit requires precision:
Mark the Cut Lines: Use the template provided with the unit to mark the cut lines on the wall. Carefully cut the opening using a saw.
Step 3: Installing the Condenser
Installing the condenser involves connecting the refrigerant lines and electrical wiring:
Connect the Lines: Attach the refrigerant lines to the indoor unit and outdoor condenser. Insulate the lines to prevent condensation.
Maintenance Tips for Wall Unit ACs
Regular maintenance ensures your wall unit AC operates efficiently and lasts longer. Follow these tips:
- Clean or replace air filters every month.
- Inspect and clean the condenser coils annually.
- Check for leaks in the refrigerant lines and address them promptly.
- Hire a professional for annual maintenance checks.
Cost Considerations for Installation
The cost of wall unit AC installation varies based on several factors:
Unit Price: Prices range from $300 to $1,000 depending on the brand and features.
Installation Costs: Professional installation can cost between $200 and $500, depending on the complexity of the job.
Electrical Upgrades: Additional costs may be incurred if electrical upgrades are needed.
Common Issues and Troubleshooting
Even with proper installation, issues may arise. Here are some common problems and solutions:
Unit Not Cooling: Check the thermostat settings and ensure the unit is receiving power. Clean the air filters if necessary.
Leaking Water: Ensure the drainage system is clear and functioning properly.
Noise Issues: Tighten any loose screws or components causing vibrations.
When to Seek Professional Help
While many homeowners can install wall unit ACs themselves, certain situations require professional assistance:
Complex Electrical Work: If your home requires significant electrical upgrades, hire a licensed electrician.
Refrigerant Leaks: Addressing refrigerant leaks is best left to professionals due to environmental and safety concerns.
Warranty Issues: Some manufacturers require professional installation to validate warranties.
Conclusion
Wall unit AC installation can significantly enhance your home's comfort and energy efficiency. By following the steps outlined in this guide, you can ensure a successful installation that meets your needs. Remember to consider factors such as room size, energy efficiency, and additional features when selecting a unit.
We encourage you to share your experiences or ask questions in the comments below. For more informative articles on home improvement and HVAC systems, explore our website further. Your feedback helps us improve and provide the best content for our readers.
For those considering DIY installation, take your time and ensure all steps are followed carefully. If you're unsure about any part of the process, don't hesitate to seek professional help. Your safety and the system's performance depend on proper installation.
- Cavinder Twins Sports Illustrated
- New York City Police Department 94th Precinct
- Wildflower Resort New York
- Cast Your Anxiety On The Lord
- What Time Does Seabreeze Open
The Comprehensive Guide To Wall Mounted AC Units Everything You Need

Japanese Wall Ac Unit at John Alvord blog

Ac Outdoor Unit Installation Guide
